
Table of Contents
Soldering Techniques for Zone Valve Installation
Soldering is a common technique used in plumbing and HVAC Systems to join metal pipes and fittings together. When it comes to installing a zone valve, soldering is often necessary to ensure a secure and leak-free connection. In this article, we will discuss the steps involved in soldering a zone valve and provide some tips for achieving a successful solder joint.
Before you begin soldering, it is important to gather all the necessary tools and materials. You will need a propane torch, solder, flux, emery Cloth or sandpaper, a pipe cutter, and Safety gear such as gloves and goggles. Make sure to work in a well-ventilated area and take precautions to avoid any accidental burns or injuries.
The first step in soldering a zone valve is to prepare the surfaces that will be soldered. Use the emery cloth or sandpaper to clean the outside of the pipe and the inside of the fitting. This will remove any dirt, debris, or oxidation that could prevent the solder from adhering properly. Next, apply a thin layer of flux to both the pipe and the fitting. Flux helps to clean the metal surfaces and promote the flow of solder.
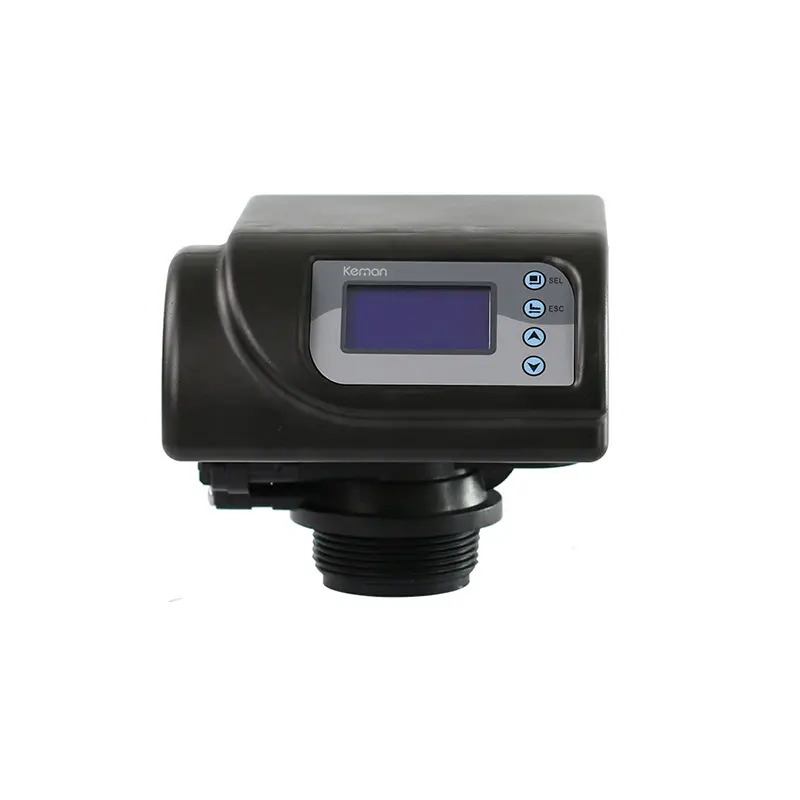
| Model | Category | Water Capacity m3/h | LCD | LED | ICON | DIODE |
| ASFU4 | Automatic Softener-Filter All-In-One Valve | 4 | O | X | X | X |
| ASFU4-Y | Automatic Softener-Filter All-In-One Valve | 4 | O | X | X | X |
| ASFU2-C | Automatic Softener-Filter All-In-One Valve | 1 | O | X | X | X |
Once the surfaces are prepared, assemble the pipe and fitting together. Make sure they are aligned properly and secure them in place with a pipe clamp or vise. Heat the joint with the propane torch, moving the flame around the fitting to evenly distribute the heat. When the joint reaches the correct temperature, touch the end of the solder to the joint. The solder should melt and flow into the joint, creating a strong bond.
It is important to avoid overheating the joint, as this can cause the solder to burn or create a weak joint. If you see the solder bubbling or turning black, remove the torch immediately and allow the joint to cool before attempting to solder again. It may take some practice to achieve the right balance of heat and solder, so be patient and take your time.
After soldering the joint, allow it to cool completely before testing for leaks. Once the joint has cooled, inspect it carefully for any signs of leaks or gaps in the solder. If you notice any issues, you may need to reheat the joint and add more solder to achieve a proper seal.
In conclusion, soldering a zone valve is a straightforward process that requires careful preparation and attention to detail. By following the steps outlined in this article and practicing proper soldering techniques, you can ensure a secure and leak-free connection for your zone valve installation. Remember to always prioritize safety and take your time to achieve a successful solder joint. With practice and patience, you can master the art of soldering and tackle any plumbing or HVAC project with confidence.