
Table of Contents
How to Make Clear Embroidery Lace in 6/8/10/12mm Sizes
Clear embroidery lace is a popular choice for adding a touch of elegance and sophistication to various garments and Accessories. Whether you are a seasoned crafter or a beginner looking to try your hand at creating beautiful lace designs, making clear embroidery lace in 6/8/10/12mm sizes can be a rewarding and enjoyable process.
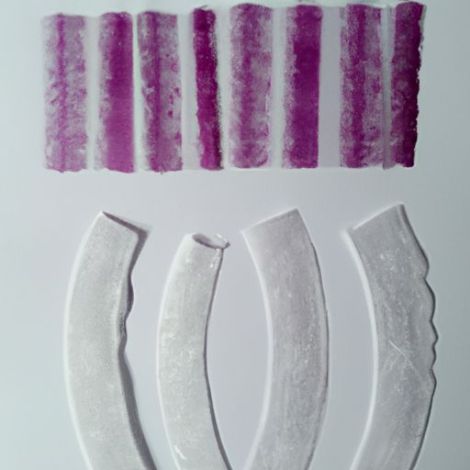
To begin making clear embroidery lace, you will need a few essential materials and tools. These include clear plastic bone for corset, embroidery Thread, a sewing machine, and a pair of sharp scissors. You may also want to have a ruler or measuring tape on hand to ensure that your lace is the correct width.
The first step in making clear embroidery lace is to select the appropriate size for your project. Clear embroidery lace is available in a variety of widths, including 6mm, 8mm, 10mm, and 12mm. The size you choose will depend on the look you are trying to achieve and the type of garment or accessory you are embellishing.
Once you have selected the size of your clear embroidery lace, you can begin the process of creating the lace design. Start by cutting a piece of clear plastic bone for corset to the desired width and length. Next, thread your sewing machine with embroidery thread in a color that complements your Fabric.
As you sew, be sure to use a straight stitch and a medium stitch length to create a delicate and intricate lace design. You can experiment with different stitch patterns and techniques to achieve the desired look for your lace.
 As you continue sewing, be sure to backstitch at the beginning and end of each row to secure the stitches and prevent them from unraveling. Take your time and work carefully to ensure that your lace design is neat and uniform.
Once you have finished sewing your clear embroidery lace, carefully trim any excess thread and remove any stray threads or loose stitches. You can also use a pair of sharp scissors to carefully trim any uneven edges or stray threads to create a clean and polished finish.
After you have completed your clear embroidery lace, you can attach it to your garment or accessory using a needle and thread or fabric glue. Be sure to secure the lace in place carefully to prevent it from shifting or coming loose.
In conclusion, making clear embroidery lace in 6/8/10/12mm sizes can be a fun and rewarding project for crafters of all skill Levels. By following these simple steps and using the right materials and tools, you can create beautiful and intricate lace designs to enhance your garments and accessories. Experiment with different sizes and techniques to create unique and personalized lace designs that will add a touch of elegance to any project.